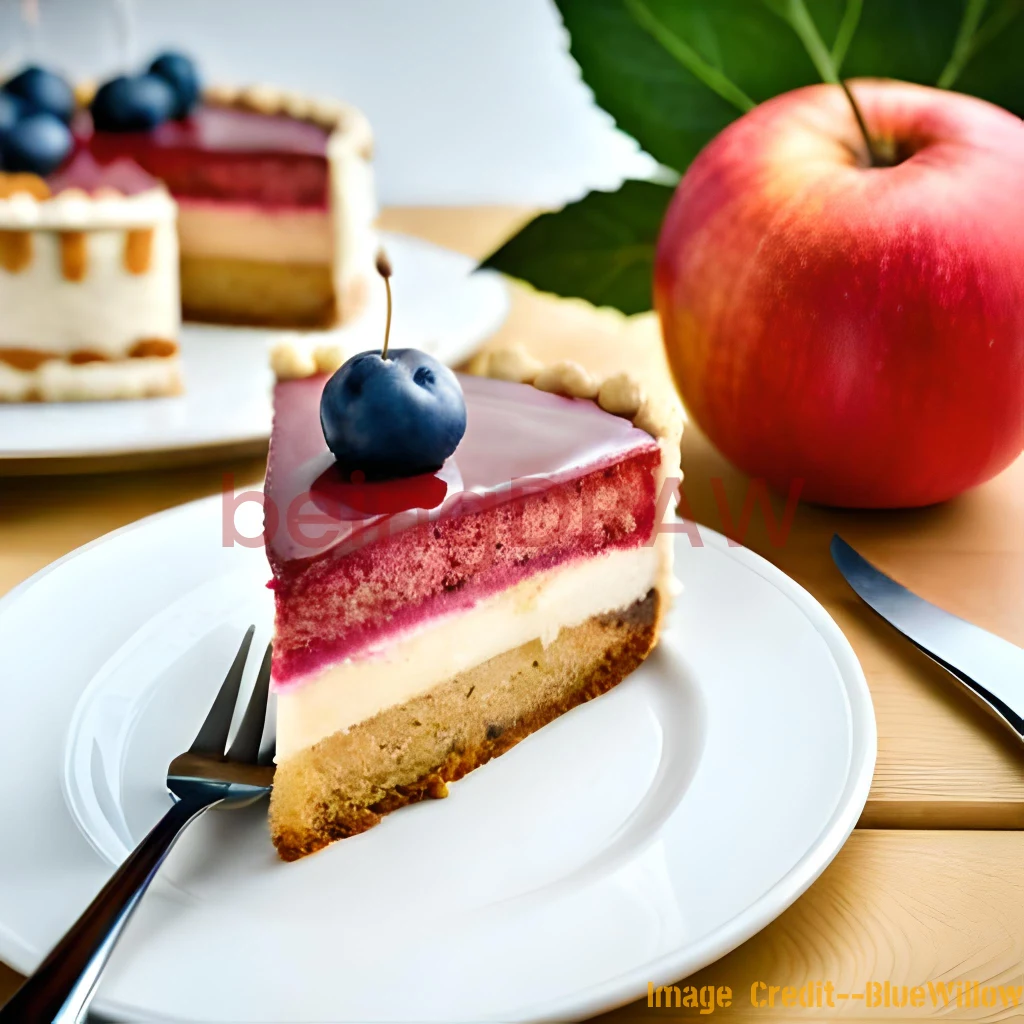
Cake, a delectable dessert that brings joy and celebration to any occasion, is a delightful treat for the senses. With its moist texture, sweet flavours, and luscious frosting, the cake is a symbol of indulgence and happiness. Whether it's a towering layered cake or a single-serving cupcake, each bite offers a moment of pure bliss. From classic flavours like chocolate and vanilla to more adventurous combinations like red velvet or lemon, there is a cake for every taste preference. Birthdays, weddings, and special milestones are all made sweeter with the presence of a beautifully decorated cake. The act of blowing out candles and making a wish adds an element of excitement and tradition. Cake not only satisfies our sweet cravings but also brings people together, creating cherished memories and moments of celebration.
To draw a cake, you can follow these step-by-step instructions:
Step 1: Draw the cake's base
Start by drawing a horizontal oval shape or rectangle to represent the base of the cake. This will determine the size and shape of your cake.
Step 2: Add layers and height
On top of the base, draw additional layers of cake to give it height and dimension. Each layer can be a slightly smaller oval or rectangle stacked on top of the previous one. The number of layers is up to you.
Step 3: Outline the frosting
Draw the outline of the frosting on each layer. You can create smooth, rounded edges or add some irregularity to make it look more natural. The frosting lines should follow the shape of each layer.
Step 4: Draw the cake details
Add some details to the cake, such as a border along the edges of each layer. This can be a simple line or a decorative pattern, like scallops or small dots.
Step 5: Add decorations
Get creative with the decorations! You can draw candles, flowers, fruit, or any other embellishments you like on top of the cake. These decorations can be placed in the centre or scattered across the layers.
Step 6: Add texture
To give the cake some texture, lightly sketch some curved lines or small strokes on the frosting to represent the icing or buttercream. This will add depth and make the cake look more realistic.
Step 7: Finalize and refine
Go over your initial sketch and refine the lines, making them smoother and more precise. Erase any unwanted lines or overlapping parts, ensuring that the proportions and shapes look balanced.
Step 8: Color your drawing (optional)
If desired, you can colour your cake drawing. Use various shades of brown for the cake layers, and choose your favourite colours for the frosting and decorations. Consider using coloured pencils, markers, or any other colouring tools you prefer.
Step 9: Erase and clean up
Carefully erase any remaining construction lines and unwanted marks. Clean up the drawing to achieve a polished and finished look.
Remember, drawing is a creative process, and you can customize your cake by adding your own unique details and decorations. Feel free to experiment with different shapes, sizes, and designs to make your cake drawing even more special. Enjoy the process and have fun!


